Error de formato de correo electrónico
emailCannotEmpty
emailDoesExist
pwdLetterLimtTip
inconsistentPwd
pwdLetterLimtTip
inconsistentPwd

Noticias

How to Fix a Handrail to a Wall
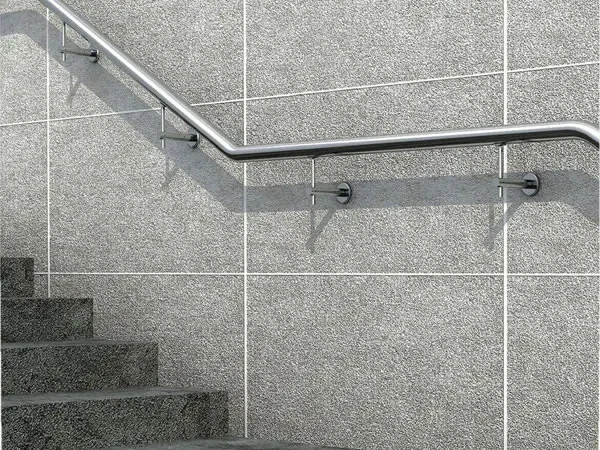
Installing a handrail on a wall not only enhances safety but also adds a touch of elegance to your space. In this step-by-step guide, we will walk you through the process of fixing a handrail to a wall using a stainless steel handrail base plate. This method ensures a secure and durable installation, providing support and stability for years to come.
Step 1: Gather the Materials
Before you begin, gather all the necessary materials. You will need a stainless steel handrail with a base plate, wall anchors, a drill, a screwdriver, a level, a measuring tape, a pencil, safety goggles, and protective gloves.
Step 2: Measure and Mark
Start by determining the desired height and location for your handrail. Use a measuring tape to mark the positions where the base plate will be attached to the wall. Ensure that the marks are level and evenly spaced. This will help you achieve a balanced and aesthetically pleasing installation.
Step 3: Prepare the Wall
Put on your safety goggles and gloves before proceeding. Use a drill to create pilot holes at the marked positions on the wall. The size of the pilot holes should match the wall anchors you will be using. Make sure the holes are deep enough to accommodate the anchors securely.
Step 4: Install Wall Anchors
Insert the wall anchors into the pilot holes. Gently tap them in with a hammer until they are flush with the wall surface. This will provide a stable foundation for attaching the base plate. Ensure that the wall anchors are securely in place before moving on to the next step.
Step 5: Attach the Base Plate
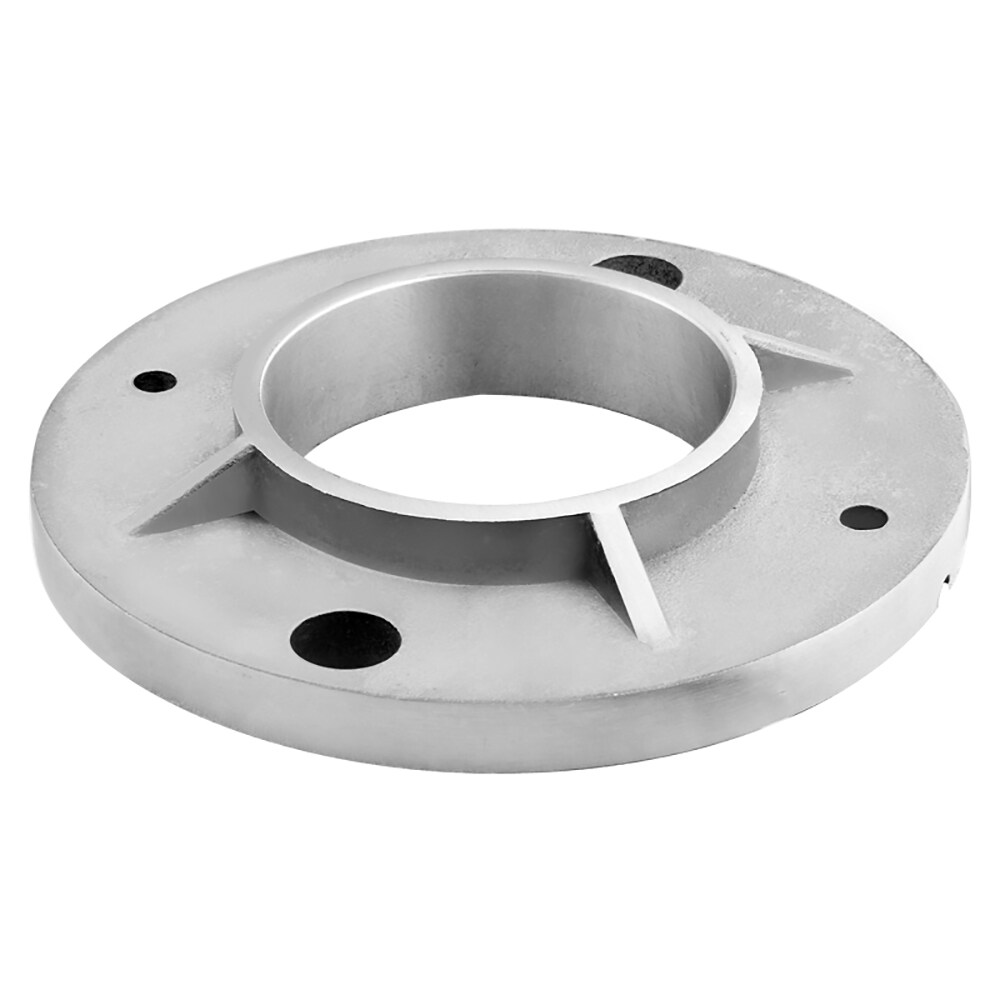
Align the base plate with the wall anchors and mark the positions of the screw holes on the wall. Remove the base plate and drill holes at the marked positions. Ensure that the drill bit size matches the screws provided with the base plate. This will ensure a proper fit and prevent any damage to the wall.
Step 6: Secure the Base Plate
Place the base plate back onto the wall, aligning it with the drilled holes. Insert the screws through the base plate and into the wall anchors. Use a screwdriver to tighten the screws, ensuring a secure and stable attachment. Double-check that all screws are tightened properly to avoid any wobbling or instability.
Step 7: Mount the Handrail
Once the base plate is securely attached to the wall, it’s time to mount the handrail. Slide the handrail onto the base plate, ensuring a snug fit. Use a level to ensure the handrail is straight and adjust if necessary. This will ensure a visually appealing and functional installation.
Conclusion:
Fixing a handrail to a wall using a stainless steel handrail base plate is a straightforward process that can be accomplished with the right tools and careful execution. By following the steps outlined in this guide, you can ensure a secure and durable installation that adds both functionality and style to your space. Remember to prioritize safety by wearing protective gear and double-checking the stability of the handrail before use. With a little effort and attention to detail, you can enjoy the benefits of a well-installed handrail for years to come.

