
Error de formato de correo electrónico
emailCannotEmpty
emailDoesExist
pwdLetterLimtTip
inconsistentPwd
pwdLetterLimtTip
inconsistentPwd


Noticias
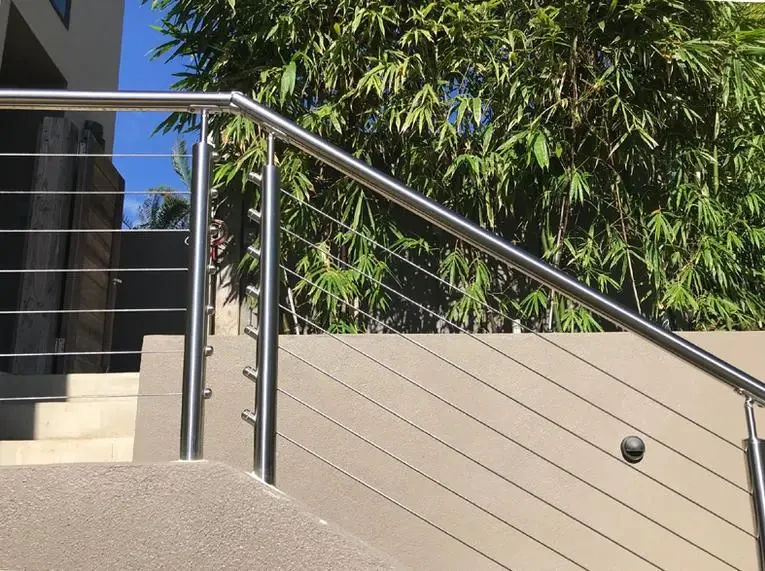
How to Install Stainless Steel Cable Railing: A Step-by-Step Guide with Vertical Stainless Steel Cable Railing Kit
Stainless steel cable railing is a popular choice for both indoor and outdoor spaces due to its sleek and modern look. In this comprehensive guide, we will walk you through the step-by-step process of installing stainless steel cable railing using a vertical stainless steel cable railing kit. This method ensures a secure and visually appealing installation that will enhance the safety and aesthetics of your space.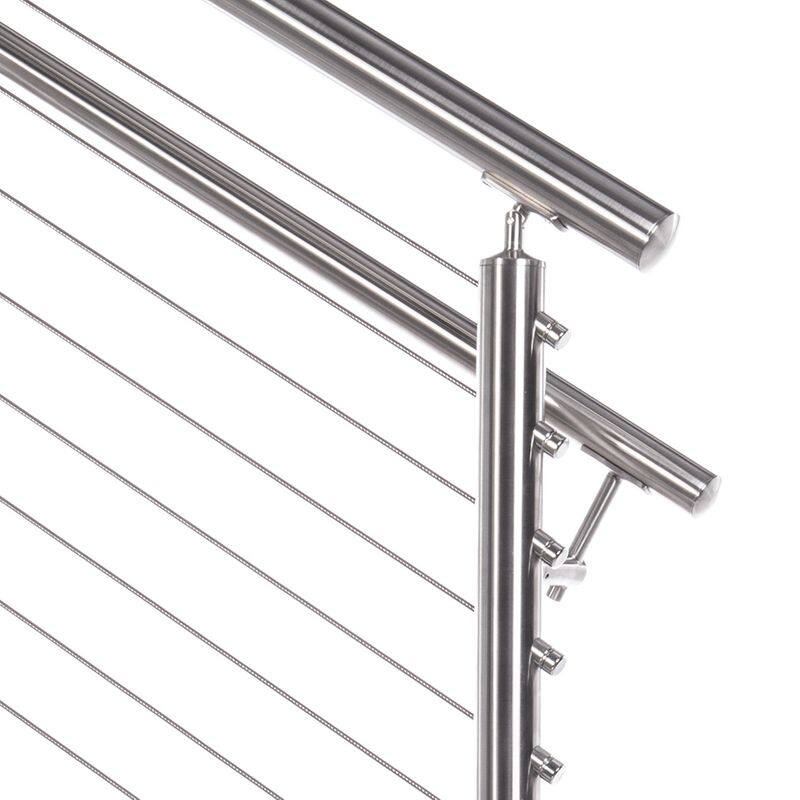
Step 1: Gather the Materials
Before you begin, gather all the necessary materials. You will need a vertical stainless steel cable railing kit, which typically includes stainless steel cables, tensioners, fittings, and a cable cutter. Additionally, you will need a drill, measuring tape, level, pencil, safety goggles, and gloves.
Step 2: Plan and Measure
Start by planning the layout of your cable railing system. Determine the spacing between each vertical post and the height of the railing. Use a measuring tape and pencil to mark the positions where the vertical posts will be installed. Ensure that the spacing is consistent and visually appealing.
Step 3: Install the Vertical Posts
Using a drill, create pilot holes at the marked positions for the vertical posts. Insert the vertical posts into the pilot holes and secure them with screws or anchors, depending on the type of surface you are mounting them on. Use a level to ensure that the posts are plumb and adjust if necessary.
Step 4: Attach the Cable Fittings
Measure the distance between each vertical post and cut the stainless steel cables to the appropriate length using a cable cutter. Attach the cable fittings to the ends of the cables according to the manufacturer’s instructions. These fittings will secure the cables to the vertical posts.
Step 5: Thread the Cables
Thread the stainless steel cables through the pre-drilled holes in the vertical posts, starting from the bottom and working your way up. Ensure that the cables are taut and evenly spaced. Use a tensioner to tighten the cables, ensuring they are securely held in place.
Step 6: Secure the Cables
Once the cables are threaded and tensioned, secure them in place using the cable fittings. Double-check that all fittings are tightened properly to prevent any slippage or movement of the cables. Trim any excess cable length if necessary.
Step 7: Final Check and Maintenance
Give the cable railing system a final check to ensure that all cables are properly tensioned and securely attached. Test the stability of the railing by giving it a firm shake. Regularly inspect and maintain the cables and fittings to ensure their longevity and safety.
Conclusion:
Installing stainless steel cable railing using a vertical stainless steel cable railing kit is a straightforward process that can be accomplished with the right tools and careful execution. By following the steps outlined in this guide, you can achieve a secure and visually appealing cable railing system that enhances the safety and aesthetics of your space. Remember to prioritize safety by wearing protective gear and regularly inspecting the cables and fittings. With proper installation and maintenance, your stainless steel cable railing will provide years of durability and style.